2019 February 25,
310vector.c: Replace all doubles with GLdoubles. (Compatibility with 310mesh.c requires this change.)
310mesh.c: Skim. I've deleted meshRender and its helper functions, including the clipping machinery. I've replaced all doubles with GLdoubles. I've replaced all ints with GLuints. (The latter are unsigned. The former were never negative anyway.) I've also deleted a few 0 <= and 0 > tests, because they are now vacuous.
310meshgl.c: This file defines a class with three unimplemented methods. Implement the methods by mimicking the relevant parts of 300openGL15.c. Here's an important detail, which simplifies your task: The vertex and triangle arrays in meshMesh are laid out in exactly the way that OpenGL wants such data.
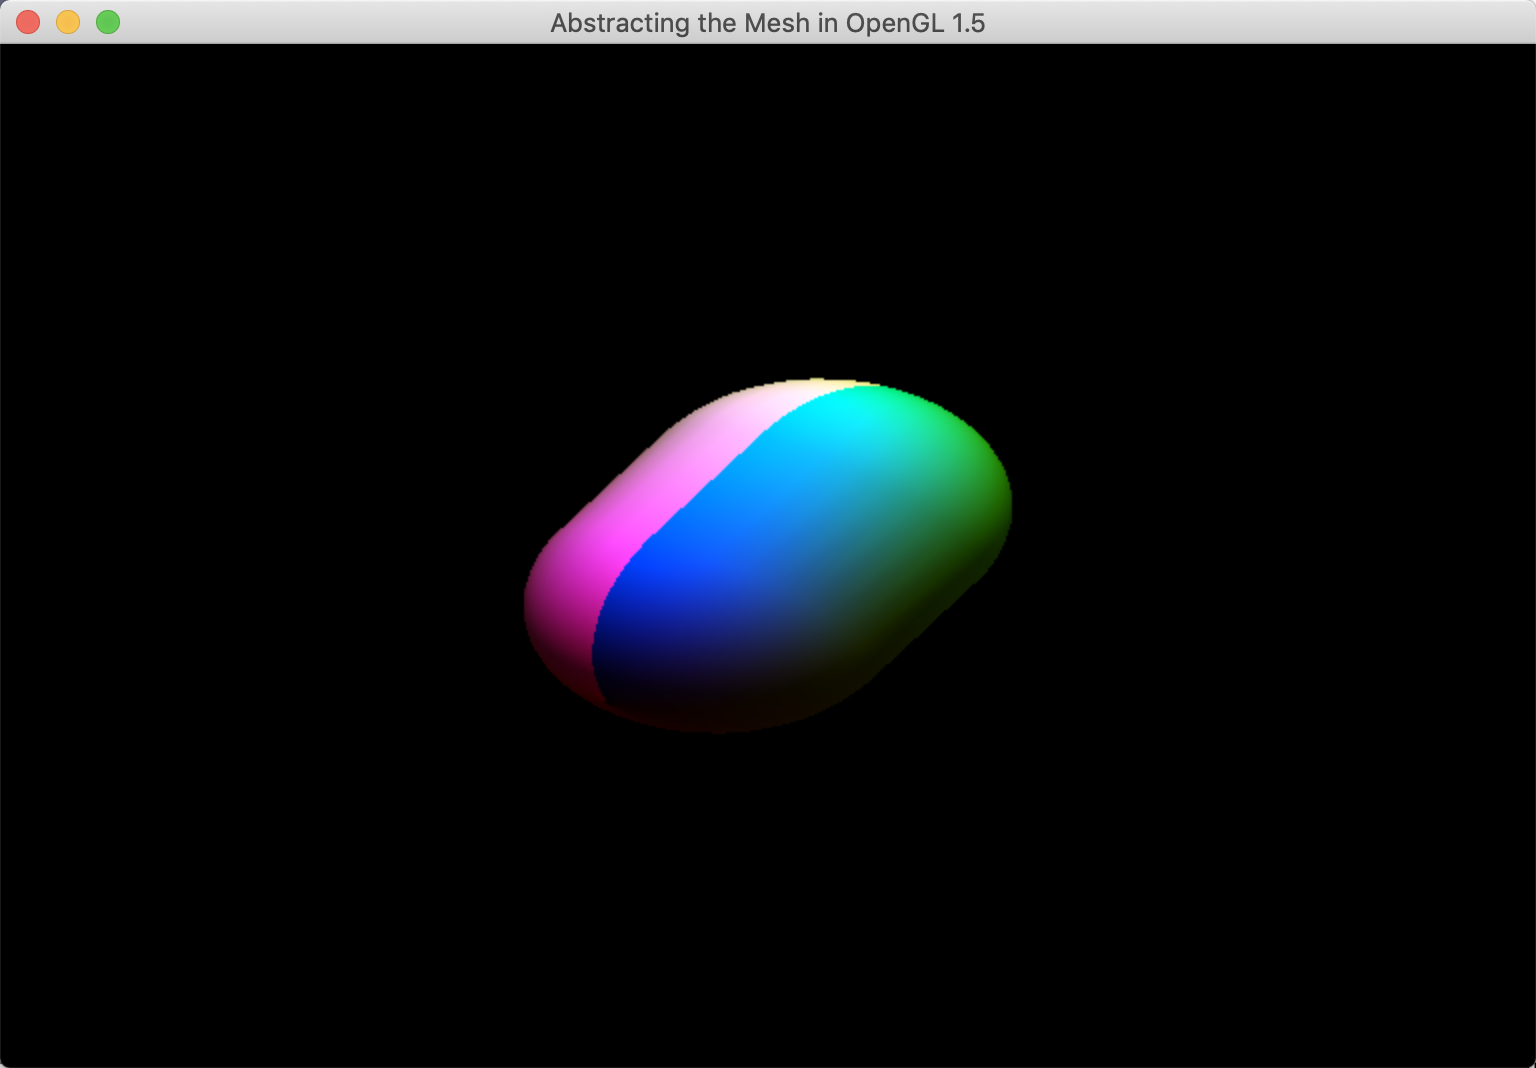
310mainMeshgl.c: Start with a copy of 300openGL15.c. Include stdlib.h, 310vector.c, 310mesh.c, and 310meshgl.c. Remove the code that makes and draws a simple mesh. Replace it with code that makes and draws a non-trivial mesh built using one of 310mesh.c's convenience 3D mesh builders. I recommend that you change as little other code as possible. Here is an important detail. The convenience builders provide position, texture coordinate, and normal attributes (XYZSTNOP). But you don't need texture coordinates (ST) and you do need color (RGB). So use any three consecutive attributes as color. I used STN, and here's a screenshot:
Clean up and hand in all four "310" files.
320matrix.c: Replace all doubles with GLdoubles.
320isometry.c: Replace all doubles with GLdoubles.
320camera.c: Replace all doubles with GLdoubles.
320mainShading.c: Start with a copy of 300openGL20b.c. Include 310vector.c and the "320" files instead of their old versions. In uniformMatrix44 and uniformVector3, replace all doubles with GLdoubles. In render, do not replace doubles representing time with GLdoubles, but do replace all other doubles with GLdoubles. (The time library seems not to work well with floats, and we cannot assume that GLdoubles are not floats.) Test.
320shading.c: Skim. This file defines a class that packages a shader program with its uniform and attribute locations for easy use.
320mainShading.c: Replace all of the C code for building and using the shader program and its locations with the better-abstracted equivalents from 320shading.c. You might find the C code below helpful. Test.
#define UNIFVIEWING 0
#define UNIFMODELING 1
#define ATTRPOSITION 0
#define ATTRCOLOR 1

const GLchar *uniformNames[2] = {"viewing", "modeling"};
const GLchar **unifNames = uniformNames;
const GLchar *attributeNames[2] = {"position", "color"};
const GLchar **attrNames = attributeNames;
I have placed some lines of GLSL code below. They are disorganized bits and pieces of my diffuse, specular, and ambient lighting calculations. Using your knowledge of those lighting algorithms, try to guess what each line of code means. (This exercise teaches you enough GLSL to complete the following exercises.)
vec4 world = modeling * vec4(position, 1.0);
pFragment = vec3(world);
gl_Position = viewing * world;
vec3 dCamera = normalize(pCamera - pFragment);
float iDiff = dot(dLight, dNorm);
if (iDiff < 0.0)
	iDiff = 0.0;
vec3 diffuse = iDiff * cDiff * cLight;
vec3 cSpec = vec3(1.0, 1.0, 1.0);
iSpec = pow(iSpec, shininess);
330mainLighting.c: Start with a copy of 320mainShading.c. Add diffuse reflection. For consistency in grading, let's agree that the light is directional. You should have uniforms for light direction and light color. Use the varying color as the diffuse surface color. Use the attribute position as the normal direction, because the mesh happens to be a unit sphere. Test.
330mainLighting.c: Add ambient lighting. You should have a uniform for ambient light color. Test.
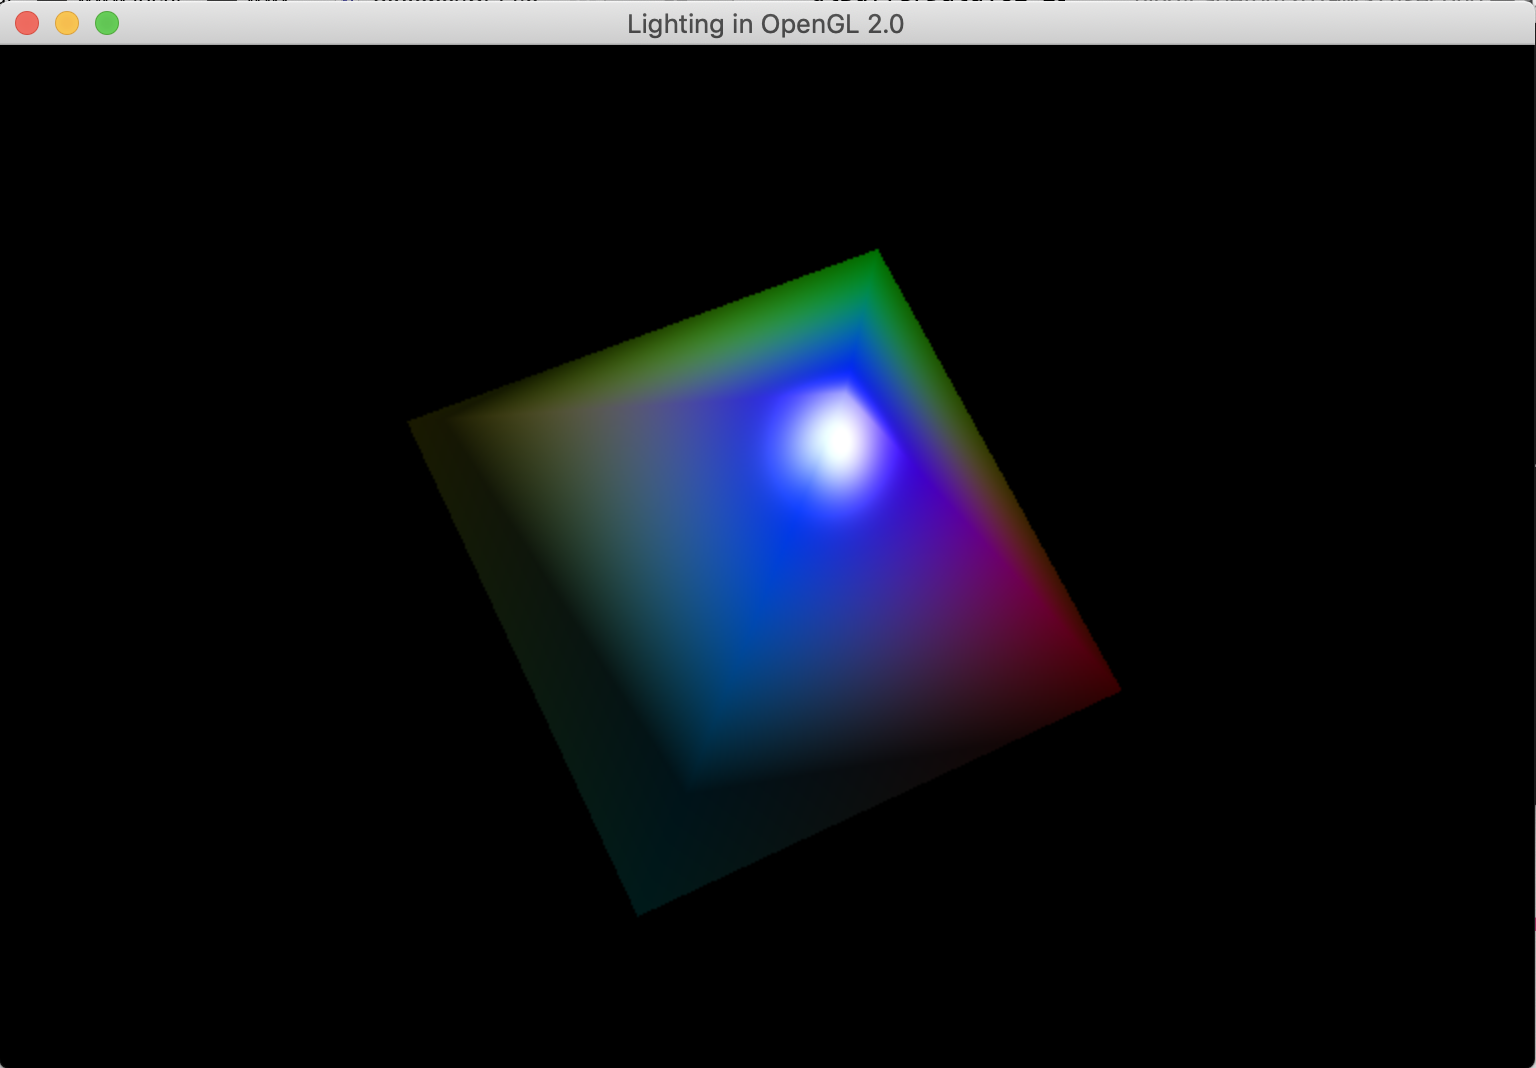
330mainLighting.c: Add specular reflection. For consistency in grading, let's agree that the camera is perspective and positional. You should have a uniform for camera position. Choose specular surface color and shininess as you like, as long as the specular effect is noticeable. See below for a screenshot of mine. Notice that the specular highlight is misshapen, because the trianglar mesh is so crude.
Clean up and hand in 330mainLighting.c and all files on which it depends.
Today we convert our code to OpenGL 3.2. There are several interdependent and mysterious changes. More than usual, my instructions proceed by baby steps.
340mainLighting.c: Start with a copy of 330mainLighting.c. Add a global variable for the VAO. Change the compiler invocation, the #include statements, and the contents of the main function, mimicking the corresponding changes between 300openGL20b.c and 300openGL32.c. Test. The program should compile and run briefly, but then stop with an error about a missing version number in your GLSL code.
340mainLighting.c: Change the GLSL code, mimicking the corresponding changes between 300openGL20b.c and 300openGL32.c. Test. The program should compile and run without errors, but it should display a black screen.
340mainLighting.c: Edit the functions that initialize and render the mesh (which in my program are called initializeMesh and render). They need to use the VAO, just as the corresponding functions in 300openGL32.c do. Test. Your program should produce the same output as 330mainLighting.c.
350meshgl.c: Start with a copy of 310meshgl.c. First, please correct an oversight of mine: The argument to meshglRender and the second argument to meshglInitialize should be qualified const.
350meshgl.c: Add the method shown below. Add a vao member after the attrDim member. Update meshglDestroy so that it cleans up the VAO as well as the other buffers. Edit meshglInitialize to initialize the VAO as much as possible, in accordance with the method below. Edit the meshglRender function and its documentation accordingly.
/* Immediately after meshglInitialize, the user must configure the attributes
using glEnableVertexAttribArray and glVertexAttribPointer. Immediately after
that configuration, the user must call this function to complete the
initialization of the mesh. */
void meshglFinishInitialization(meshglMesh *mesh) {
	glBindBuffer(GL_ELEMENT_ARRAY_BUFFER, mesh->buffers[1]);
	glBindVertexArray(0);
}
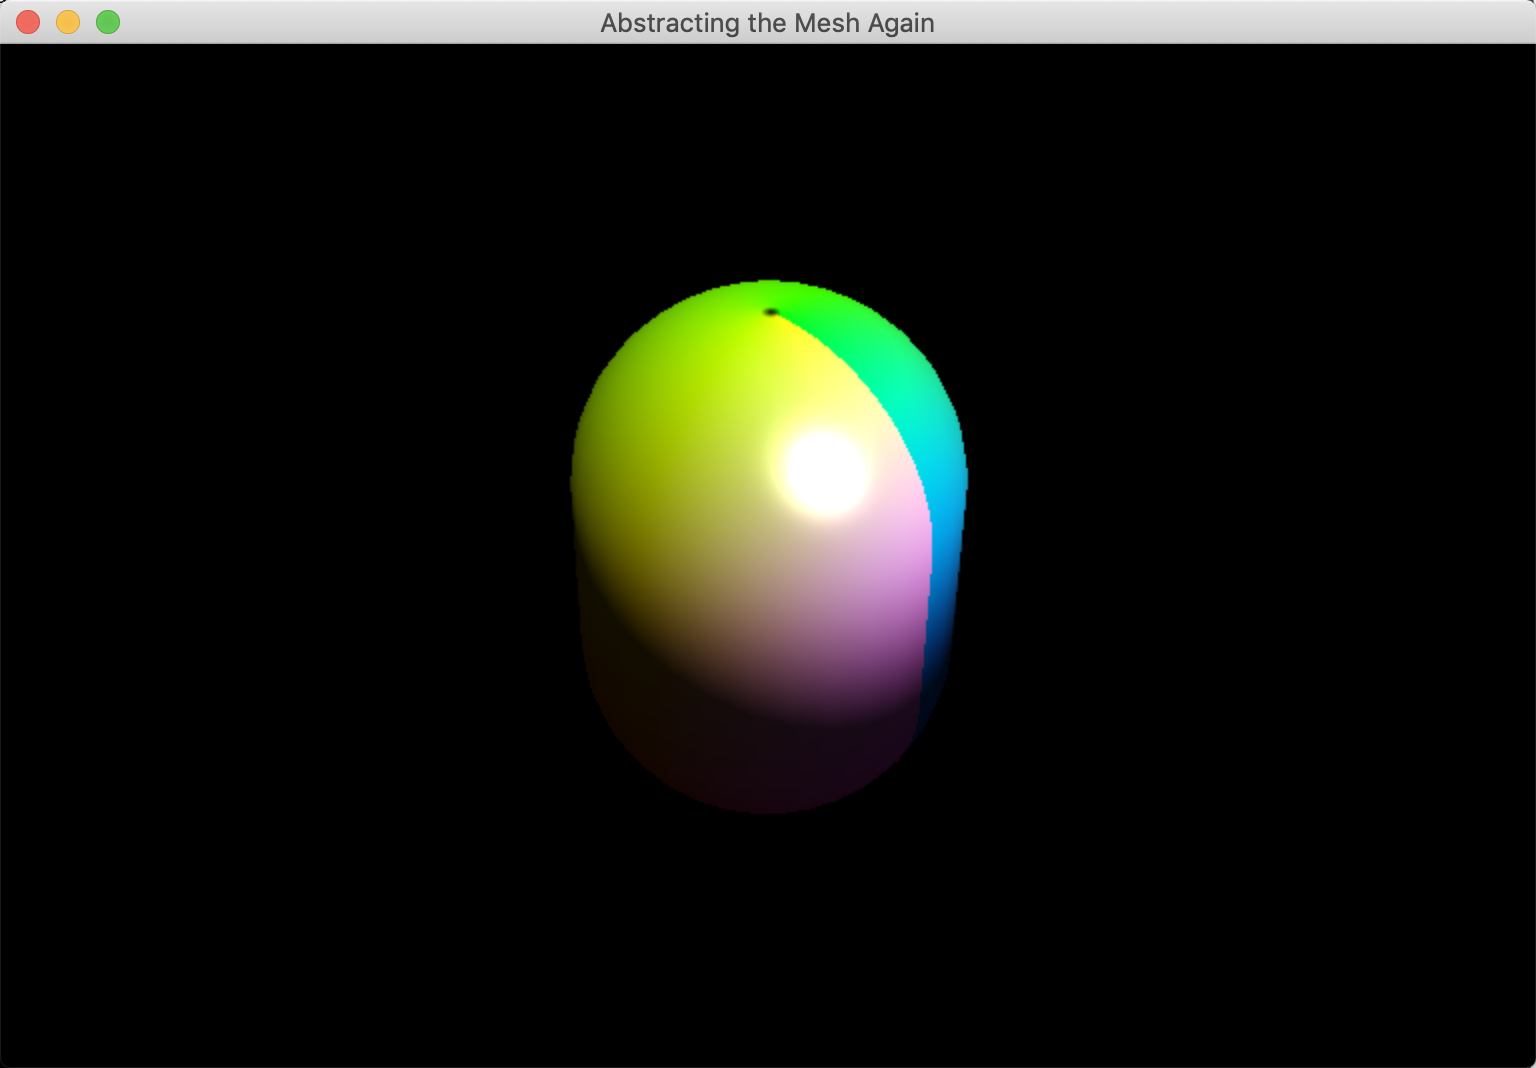
350mainMeshgl.c: Demonstrate 350meshgl.c. That is, replace the simple mesh with a better mesh built using one of the convenience mesh builders in 310mesh.c. Don't forget to update your attributes and your GLSL code to reflect the fact that the mesh is passing non-trivial normals now. Here's a screenshot of mine:
OpenGL 3.2 is the last version that we study in this course. The rest of our OpenGL work is built on the code that you just wrote. So make sure that you are properly cleaning up resources when you are finished with them. Make sure that there is no unnecessary, obsolete code in your program. After you've cleaned them up, hand in 340mainLighting.c, 350meshgl.c, and 350mainMeshgl.c.
If you have more time, then consider working on the texturing part of the next assignment.
Today's work re-introduces textures. It also introduces the body abstraction, which is long overdue in this course. (In winter 2017, I introduced this abstraction and more on Day 07.)
360texture.c: Skim. This file describes a class for OpenGL textures. It's similar to the non-OpenGL texture class of 040texture.c.
360mainTexturing.c: Start with a copy of 350mainMeshgl.c. Declare a texture as a global variable. In the main function, initialize and destroy the texture. Test. Your program should produce the same output as 350mainMeshgl.c does, because you are not yet using the texture. (I'm demonstrating to you how often I test my code. It's often.)
360mainTexturing.c: First, add a uniform for a texture. This change requires two lines of GLSL fragment shader code like the ones below. It also requires you to enlarge the uniform names that you pass to shaInitialize. Second, insert a call to texRender just before, and a call to texUnrender just after, calling meshglRender. Test. Your program should produce the same output, because you are not actually using the rgbFromTex variable in the fragment shader.
uniform sampler2D texture0;
vec3 rgbFromTex = vec3(texture(texture0, vec2(0.5, 0.5)));
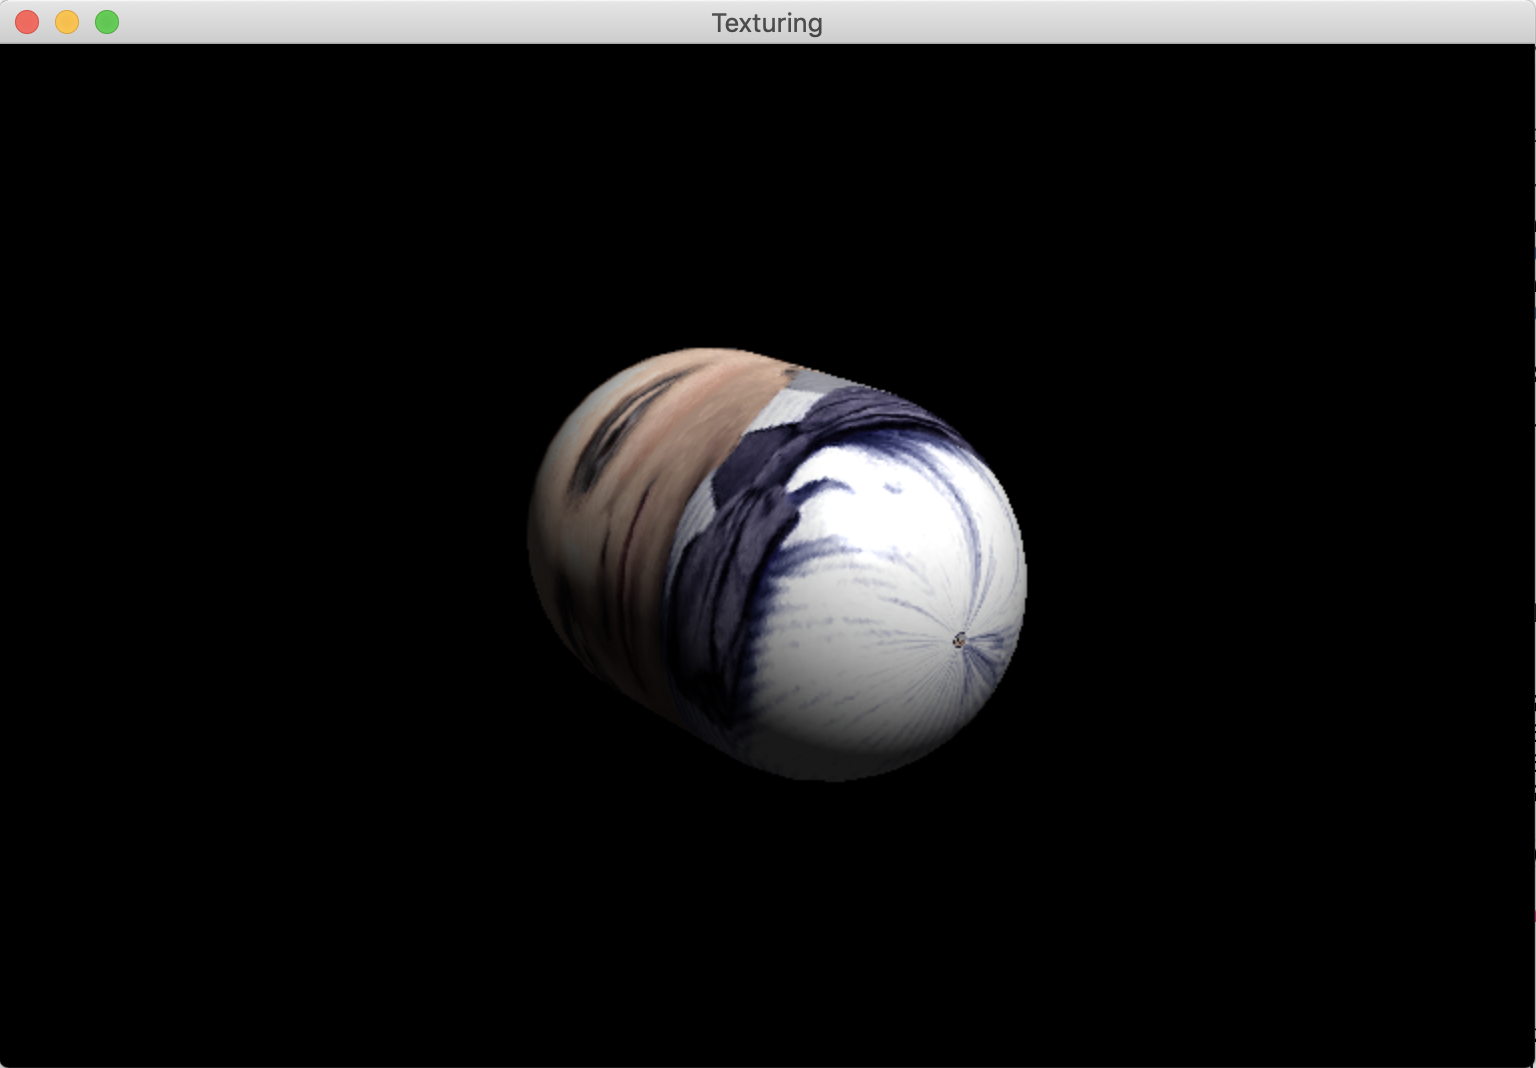
360mainTexturing.c: First, edit your C code as follows. Currently your attributes are probably position, color, and normal. Change them to position, texture coordinates, and normal, in accordance with the actual content of your mesh. Edit your mesh initialization code accordingly. Second, edit your GLSL code as follows. In the vertex shader, change your attributes and varyings so that texture coordinates are included (and color is removed?). In the fragment shader, change your varyings. Use the varying texture coordinates in the texture lookup, where you formerly had vec2(0.5, 0.5). Use the output of that texture lookup somewhere in your lighting calculations — probably as the diffuse surface color. Test. Here's a screenshot of mine:
370body.c: Skim. This class describes a complete scene object: a mesh, an isometry to orient and position it, zero or more textures to map onto it, and any "auxiliary" uniforms specific to that scene object.
370mainBody.c: Start with a copy of 360mainTexturing.c. Edit it to use 370body.c instead of managing the body's data piecemeal. My body has zero auxiliaries, but yours might be different. The program should produce the same output as it did before this change.
370mainBody.c: The point of abstractions is to make code more concise and understandable, so that it doesn't grow out of control as we attempt larger and larger tasks. In the same vein, you might take this opportunity to organize your program. You don't have to mimic me, but here's what I do. My main function is quite short, because it calls helper functions such as initializeShading, initializeMeshes, initializeTextures, and initializeScene (for lights, camera, and bodies). And each of those initializer functions has a corresponding destroyer function. And the global variables are declared near their initializers and destroyers.
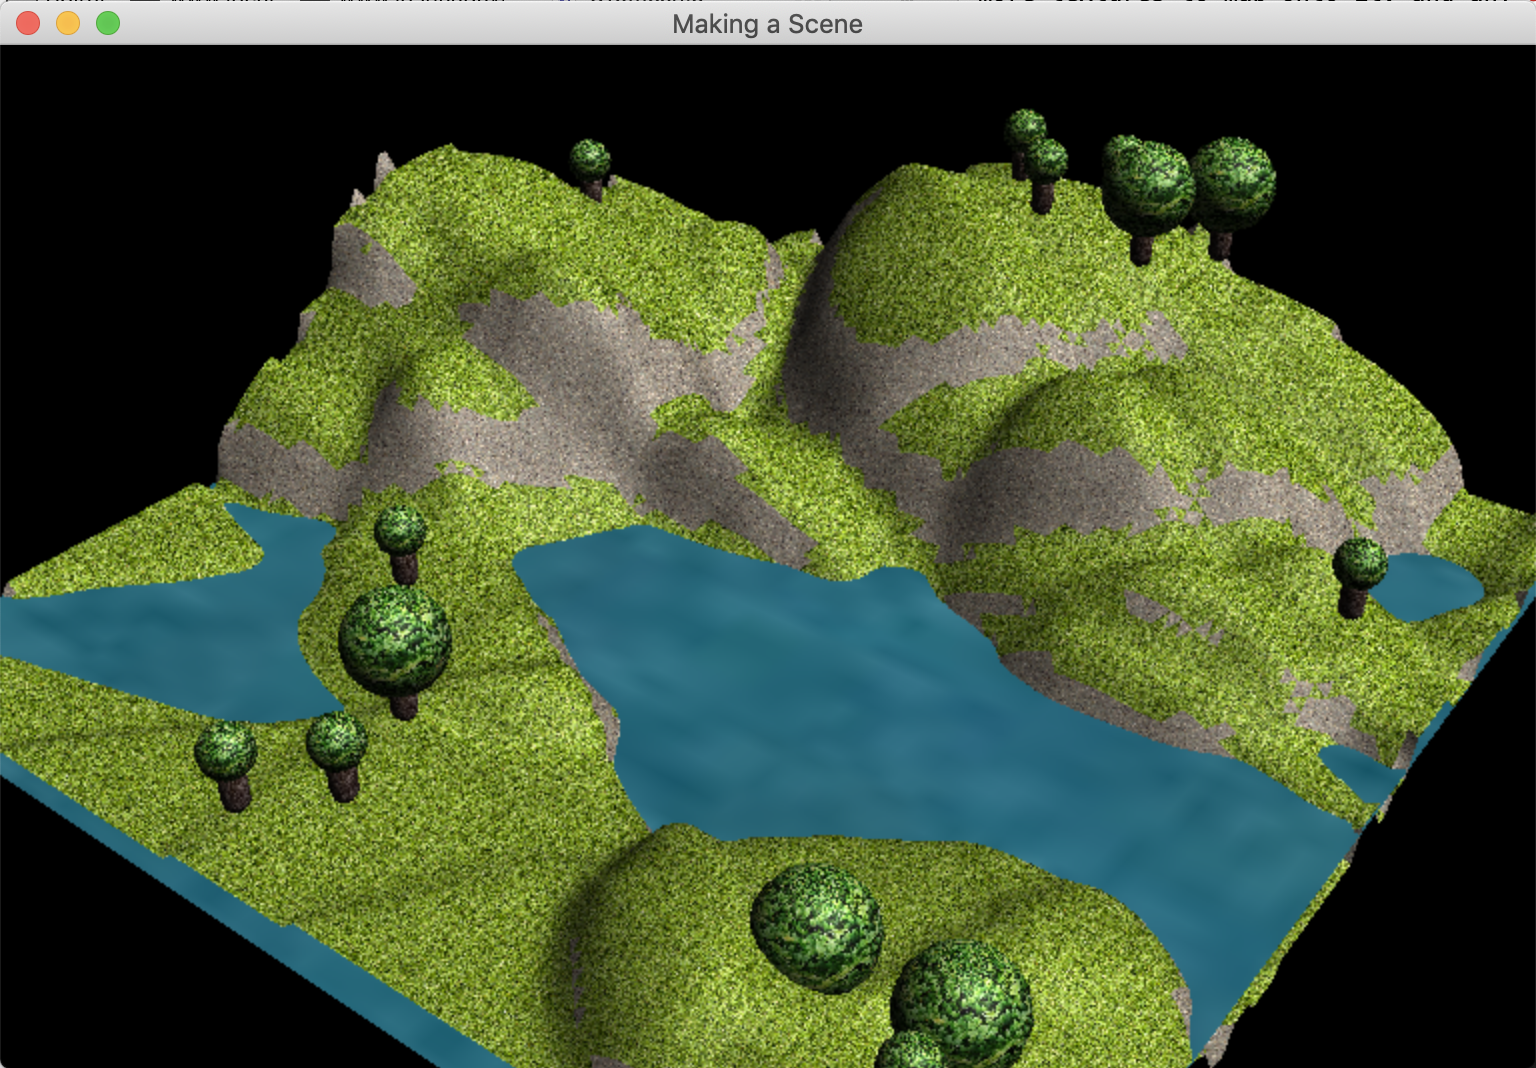
380mainScene.c: Build a scene with (at least) three bodies. Each body should have (at least) one texture, and it should be different from the textures in the other bodies. To clarify, there is no reason for you to have an array of three texture pointers in your program. Rather, each body's texture array should contain one texture pointer. For the sake of later programs, it would be helpful if at least one of your bodies were a landscape and at least one of your bodies were a closed surface (box, sphere, etc.). A screenshot of mine is below. Altogether it uses 6 meshes, 5 textures, and 33 bodies.
Clean up and hand in 360mainTexturing.c, 370mainBody.c, and 380mainScene.c.
If you have more time, then consider working on the spot light part of the next assignment.
Today we implement shadow mapping. It's our first multi-pass algorithm, and it requires many changes to the code. Much more than usual, my instructions proceed by baby steps. We start by implementing a spot light, just because that is the easiest kind of light for shadow mapping.
390mainSpot.c: Start with a copy of 380mainScene.c. Keep your current, directional light. Add a second, positional light. It requires new uniforms for plight and clight. Your fragment shader sums five lighting contributions: one ambient, two diffuse, and two specular. Test.
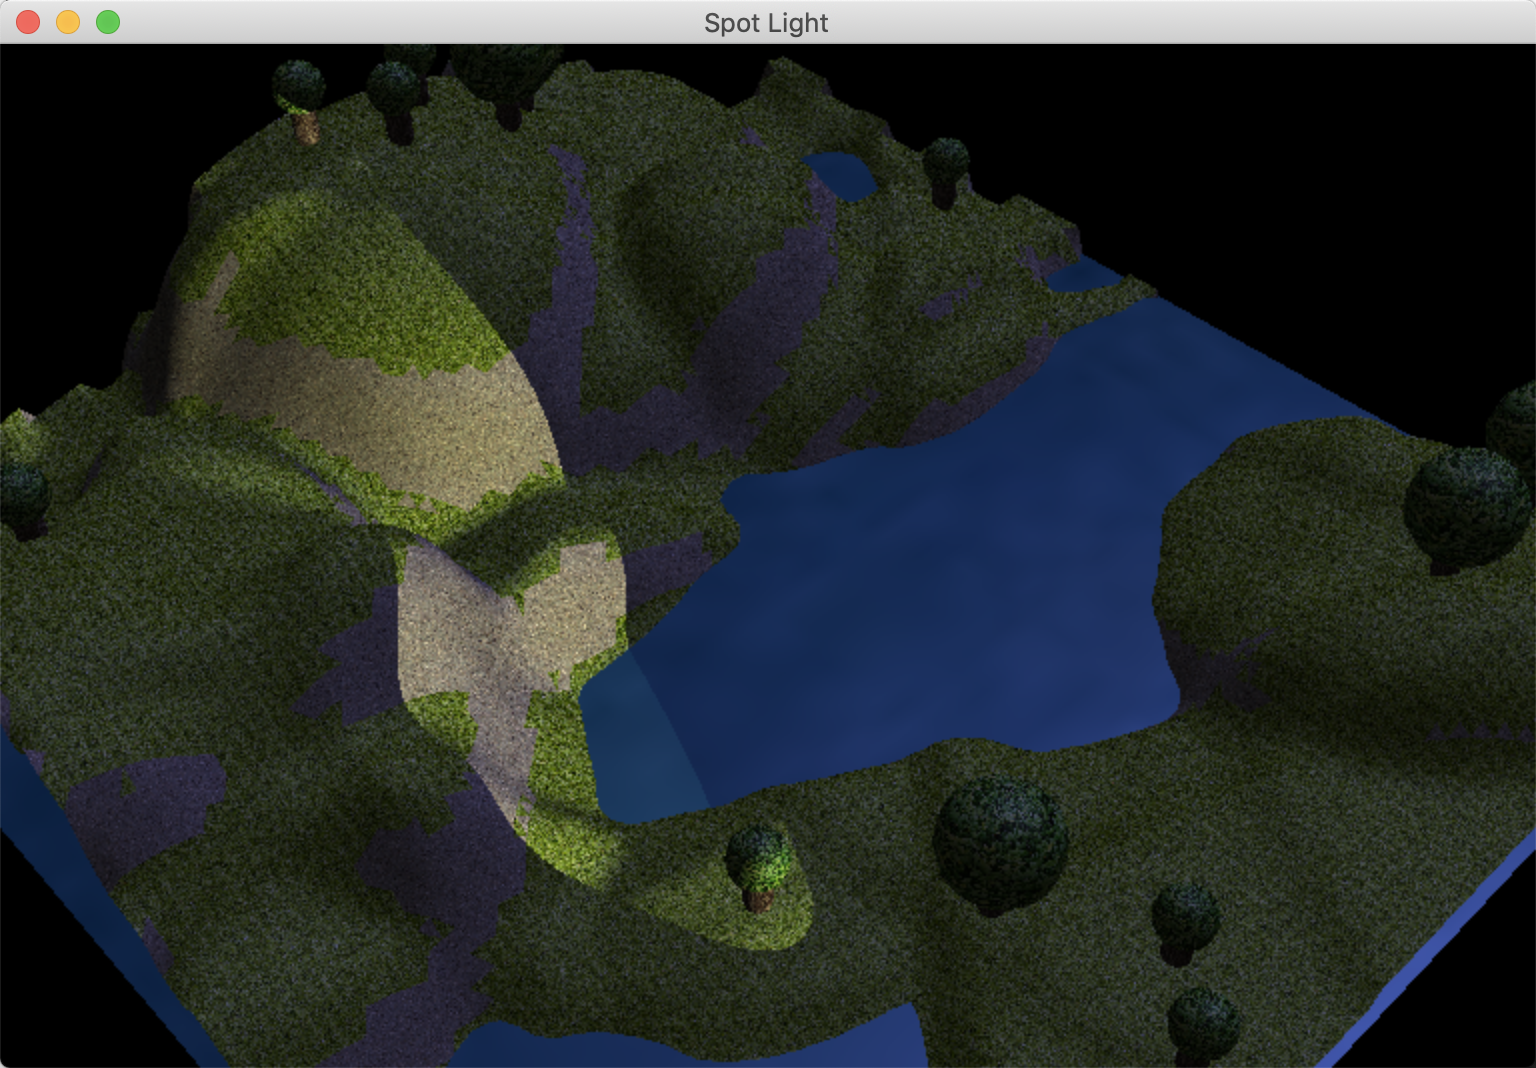
390mainSpot.c: Turn the second light into a spot light. The fragment shader additionally needs dspot and cos(anglespot / 2). The former should be uniform; the latter can be set as you like. In the fragment shader, turn off the diffuse and specular reflections for this light if the dot product of dspot and dlight is less than cos(anglespot / 2). A screenshot of mine is below. The directional light is a faint, bluish white, like moonlight. The spot light is yellowish and low to the ground, like a flash light (with an incandescent bulb). Notice that the tree in the spot light doesn't cast a shadow.
400shadow.c: Skim. This file defines a shadow map data type. It's a particular kind of off-screen framebuffer fused to a particular kind of texture. The most important thing to know is that they have depth channels but no RGB channels.
400mainShadow.c: Declare, initialize, and destroy a shadow map in the appropriate places. Test. The program should produce the same output as it did before this change, because you are not actually using the shadow map.
400mainShadow.c: Add a second camera to match your spot light. That is, it should be a perspective camera, with the same position and direction as your spot light. Also, the cosine of half its fovy should match your cos(anglespot / 2). The easiest way to make all of this happen is to configure the camera and then configure the light's uniforms based on the camera. Probably you want to use camSetFrustum, which requires a viewport width and height; they should match the width and height of the shadow map. Probably you want to set dspot in the same way that you set dcamera for a directional camera (although this camera is positional). Test. The program should produce the same output.
400mainShadow.c: You probably have some function, perhaps called render, that renders each animation frame. Make two new copies of it. Call them what you want, but I call them renderRegularly and renderShadowly. Edit render to simply call renderRegularly. Edit renderShadowly so that it uses the camera attached to the shadow-casting light instead of the regular camera. Test. The program should produce the same output.
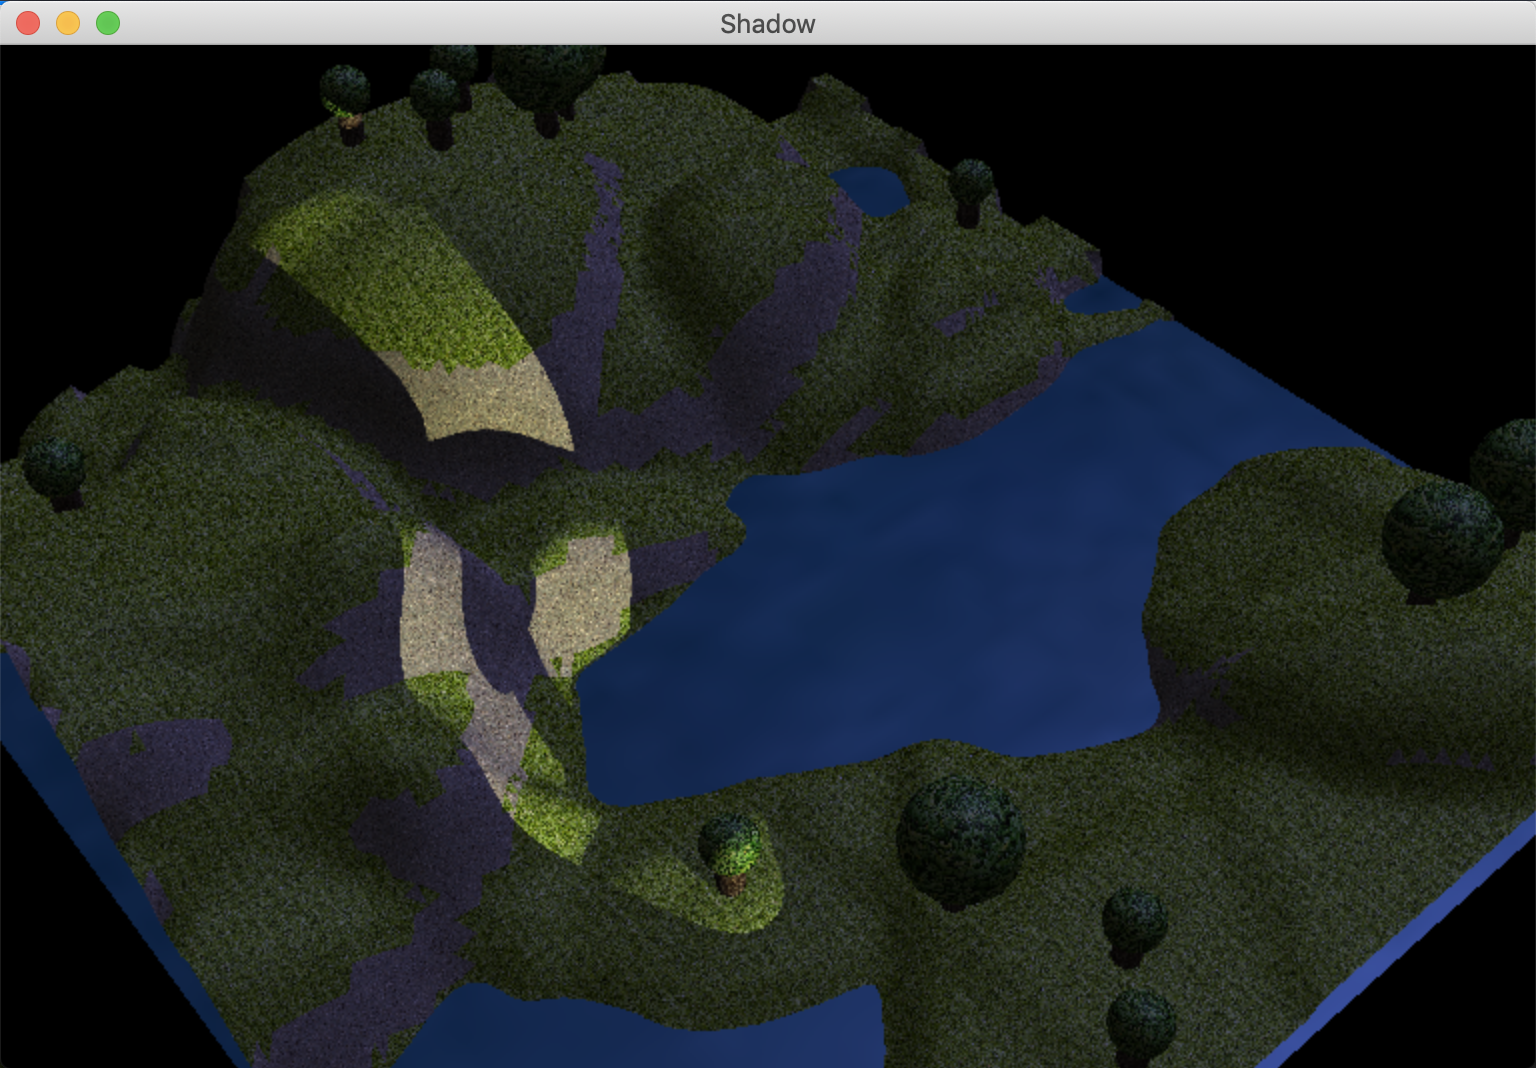
400mainShadow.c: For educational purposes, edit render so that it calls renderShadowly instead of renderRegularly. Test. You are seeing the scene from the point of view of the light. In other words, you are seeing the shadow map — albeit in full color and possibly stretched. Learning is fun! Here's a screenshot of mine:
410mainShadow.c: Start with a copy of 400mainShadow.c. Create a second shader program as follows. It's really simple. It has three uniforms: a 4x4 viewing matrix, a 4x4 modeling matrix, and an RGB color. It has one attribute: position. The vertex shader performs the modeling and viewing transformations to write the all-important gl_Position as usual. It does nothing else. The fragment shader simply outputs the uniform RGB color (with a 1 tagged onto the end). Test. Your program should produce the same output.
410meshgl.c: Replace the VAO member with an array of two VAOs — one for each shader program. Tweak meshglInitialize and meshglDestroy accordingly. Add the meshglContinueInitialization method below. The idea is that the user calls meshglInitialize, then configures the attributes for the first VAO, then calls meshglContinueInitialization, then configures the attributes for the second VAO, then calls meshglFinishInitialization. Update the documentation for meshglFinishInitialization accordingly. Also edit the meshglRender method as you see below.
/* Immediately after meshglInitialize, the user must configure the attributes
using glEnableVertexAttribArray and glVertexAttribPointer. Immediately after
that configuration, the user must call this function to continue the
initialization of the mesh. */
void meshglContinueInitialization(meshglMesh *mesh) {
	glBindBuffer(GL_ELEMENT_ARRAY_BUFFER, mesh->buffers[1]);
	glBindVertexArray(mesh->vaos[1]);
	glBindBuffer(GL_ARRAY_BUFFER, mesh->buffers[0]);
}

void meshglRender(const meshglMesh *mesh, GLuint vaoIndex) {
	glBindVertexArray(mesh->vaos[vaoIndex]);
	glDrawElements(GL_TRIANGLES, mesh->triNum * 3, GL_UNSIGNED_INT,
		meshglBUFFEROFFSET(0));
	glBindVertexArray(0);
}
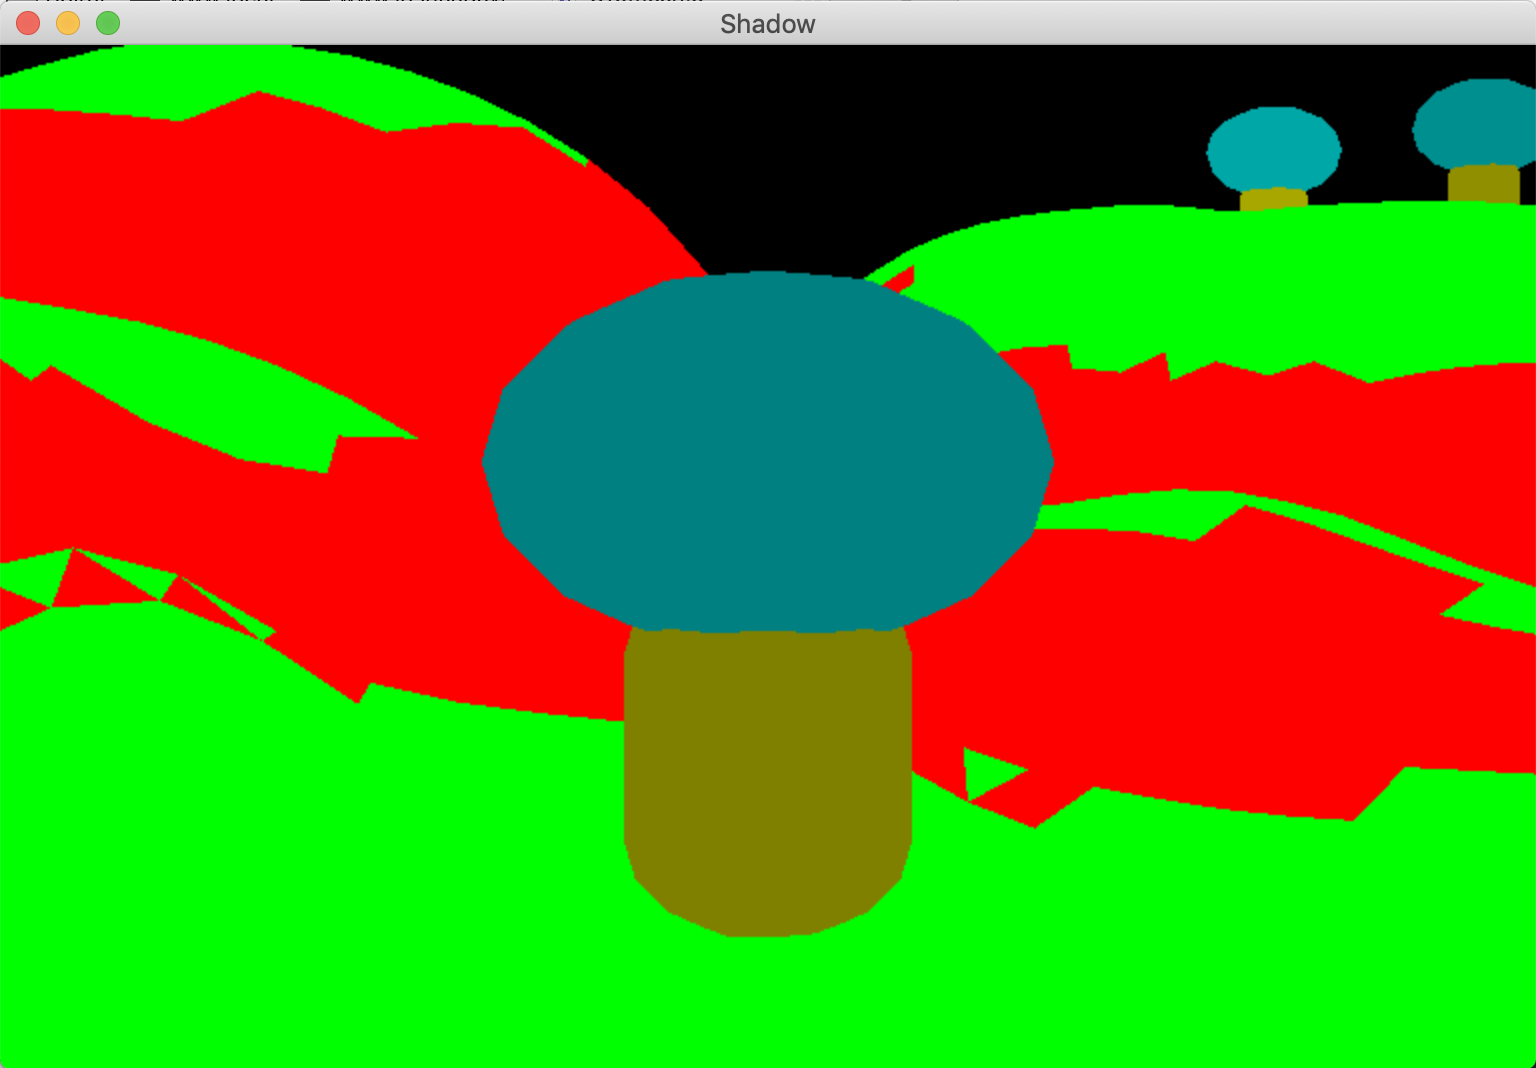
410mainShadow.c: Include 410meshgl.c. In your mesh initialization code, for each mesh, initialize both VAOs using the initialize-continue-finish pattern. Edit renderRegularly to use the VAO corresponding to the regular shader program. Edit renderShadowly to use the simplified shader program and the corresponding VAO. Make sure that it sets its three uniforms correctly (and no other uniforms). Test. Here's a screenshot of mine, which sets a different uniform RGB before rendering each body, just so that you can see the individual bodies in the scene:
410mainShadow.c: Edit render so that it calls renderShadowly then renderRegularly. Test. Your program should produce the same output as does 390mainSpot.c — but at lower frame rate.
410mainShadow.c: Edit renderShadowly so that it clears only the depth buffer — not the color buffer. Edit render so that it calls shadowRenderFirst, then renderShadowly, then shadowUnrenderFirst, then renderRegularly. Test. Your program should produce the same output. (However, behind the scenes your shadow map is correctly set up in GPU memory.)
410mainShadow.c: Integrate the following GLSL code into the vertex and fragment shaders of your regular (second-pass) shader program. Add a uniform for viewingS, and in renderRegularly load the light camera's P C-1 into it. Test. Your program should produce the same output.
uniform mat4 viewingS;
out vec4 pFragmentS;
void main(void) {
	mat4 scaleBias = mat4(
		0.5, 0.0, 0.0, 0.0,
		0.0, 0.5, 0.0, 0.0,
		0.0, 0.0, 0.5, 0.0,
		0.5, 0.5, 0.5, 1.0);
	vec4 pWorld = modeling * vec4(position, 1.0);
	gl_Position = viewing * pWorld;
	pFragmentS = scaleBias * viewingS * pWorld;
}

in vec4 pFragmentS;
420mainShadow.c: Start with a copy of 410mainShadow.c. Integrate the following GLSL code into your fragment shader. It samples from the shadow map using a GLSL function specific to that task. Notice that it uses a new uniform. So make sure your shaShading object has a location for it. Don't test yet; your program won't work.
uniform sampler2DShadow texture1;
float shadow = textureProj(texture1, pFragmentS);
iDiffB *= shadow;
iSpecB *= shadow;
Change your render function as follows. The new function calls link the shadow map to texture unit 1, so that your fragment shader can sample it.
void render(double oldTime, double newTime) {
	shadowRenderFirst(&shadowB);
	renderShadowly(oldTime, newTime);
	shadowUnrenderFirst(&shadowB);
	glUseProgram(sha.program);
	shadowRenderSecond(&shadowB, GL_TEXTURE1, 1, sha.unifLocs[UNIFTEXTURE1]);
	renderRegularly(oldTime, newTime);
	shadowUnrenderSecond(GL_TEXTURE1);
}
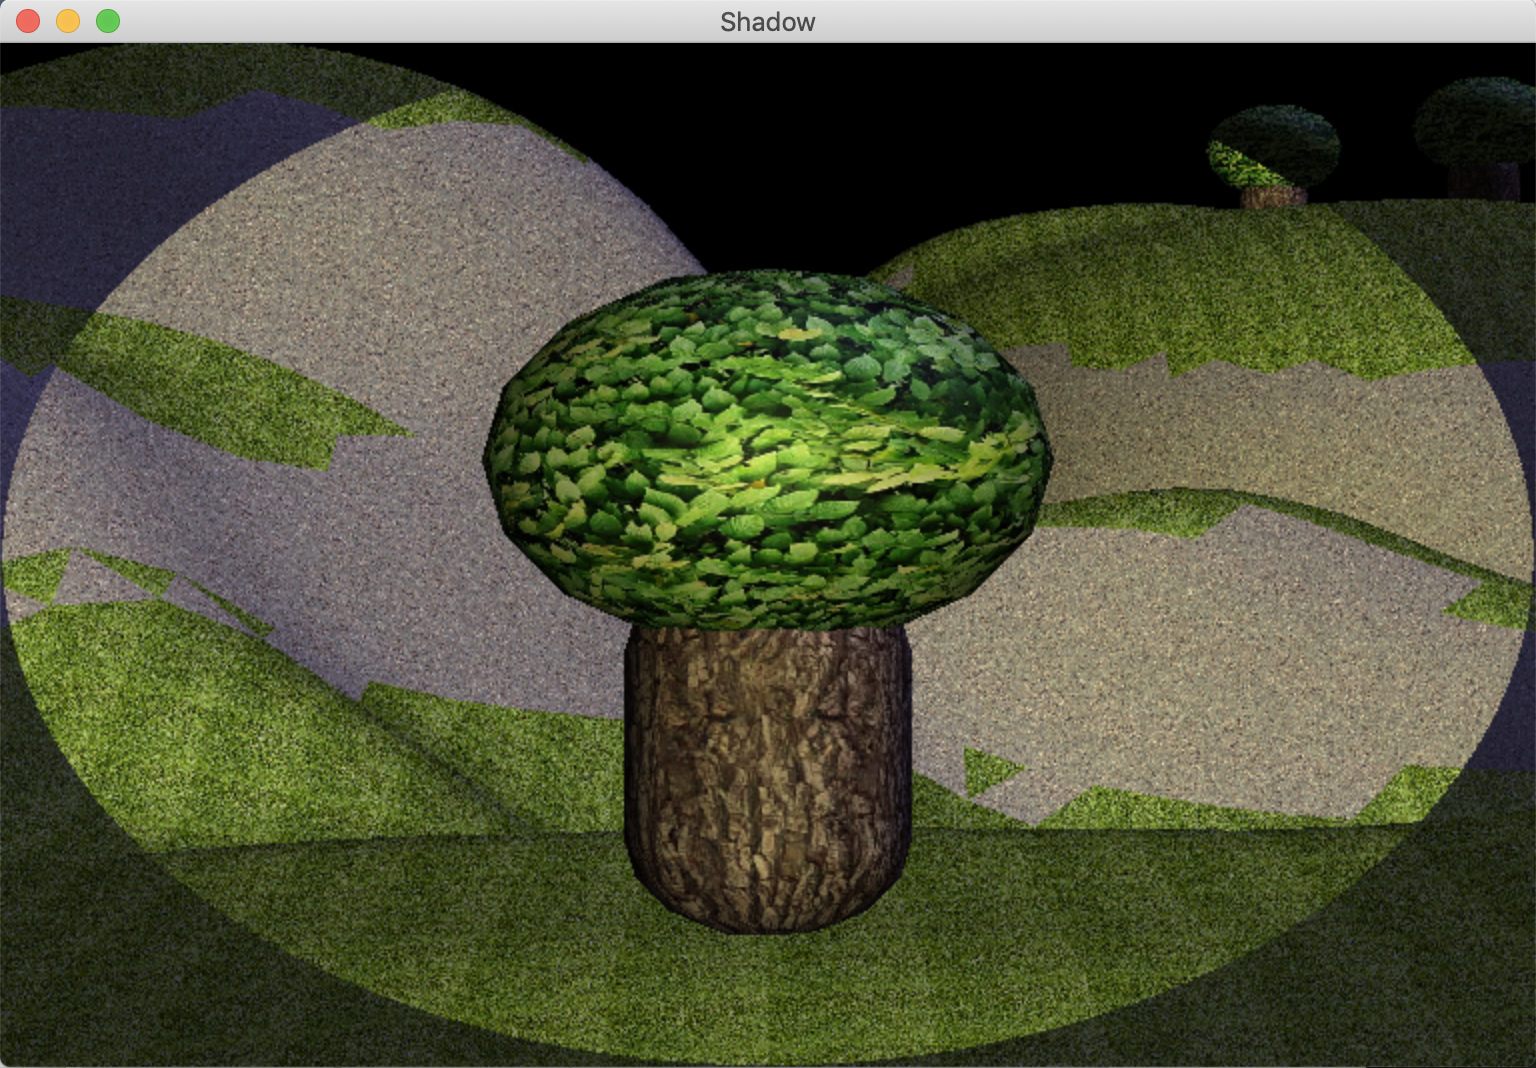
Now test. If all is well, then your spot light is casting shadows. Here's a screenshot of mine:
Clean up and hand in 390mainSpot.c, 400mainShadow.c, 410meshgl.c, 410mainShadow.c, and 420mainShadow.c.
This work is optional. I expect it to be completed by very few students. However, it is good material for think about, as you study for the exam.
430mainShadow.c: Install shadow mapping on your directional light too. The work required is not quite as long as the work you just did, and it's distinctly easier, because you can mostly mimic that code. Here is an outline. Add an orthographic camera, and use that camera to control the directional light. Add a second shadow map and a second renderShadowly function. Do not add another shader program or edit 410meshgl.c. In render, call both versions of renderShadowly before renderRegularly. In the vertex and fragment shaders, handle both shadow maps.
440light.c: Design a lightLight class. What members should it have? What methods?
440mainLight.c: Demonstrate your light class.
Because of the exam on Day 22, I do not assign any homework today. You have a chance to study and to catch up on the old homework.
The exam is a 10-minute one-on-one interview. You stand at my office chalk board, and I ask you questions, and you try to answer, and I ask you follow-up questions. Think of it as a discussion. No computers, notes, or other aids are allowed. I am allocating 15 minutes per student, in case some students want more time. If you have not already done so, sign up for a time slot on my office door.
The exam covers all material up to and including shadow mapping. It is focused on material that was not on our first exam. However, some material from the first exam might appear, just because the course is inherently cumulative. My intent is to test your knowledge of graphics, not your knowledge of C or linear algebra (although C and linear algebra might help you answer graphics questions). For the parts of the exam that cover OpenGL, my intent is to test the concepts rather than the names of specific OpenGL functions and constants.
As you study, it is a good idea to examine Exam B from two years ago. However, bear in mind that the organization and timing of the course was somewhat different then, so not all questions are appropriate for us. Here are some additional study questions.
You might also look through the homework for the first and second parts of the course, searching for any tasks marked "optional". Don't try to write working code for them, but do come up with a detailed, plausible plan for how you would write such code. Where in your programs would the code be? Which data enter into each task? How do they arrive there? What is the calculation like?
There is no new homework today. Finish your shadow mapping, if you have not already done so. When we embark on ray tracing, you want to stay up-to-date with that homework rather than finishing up old homework.